Gauge Refurbishment
Whilst awaiting the engine build there are a couple more little jobs to be getting on with.....
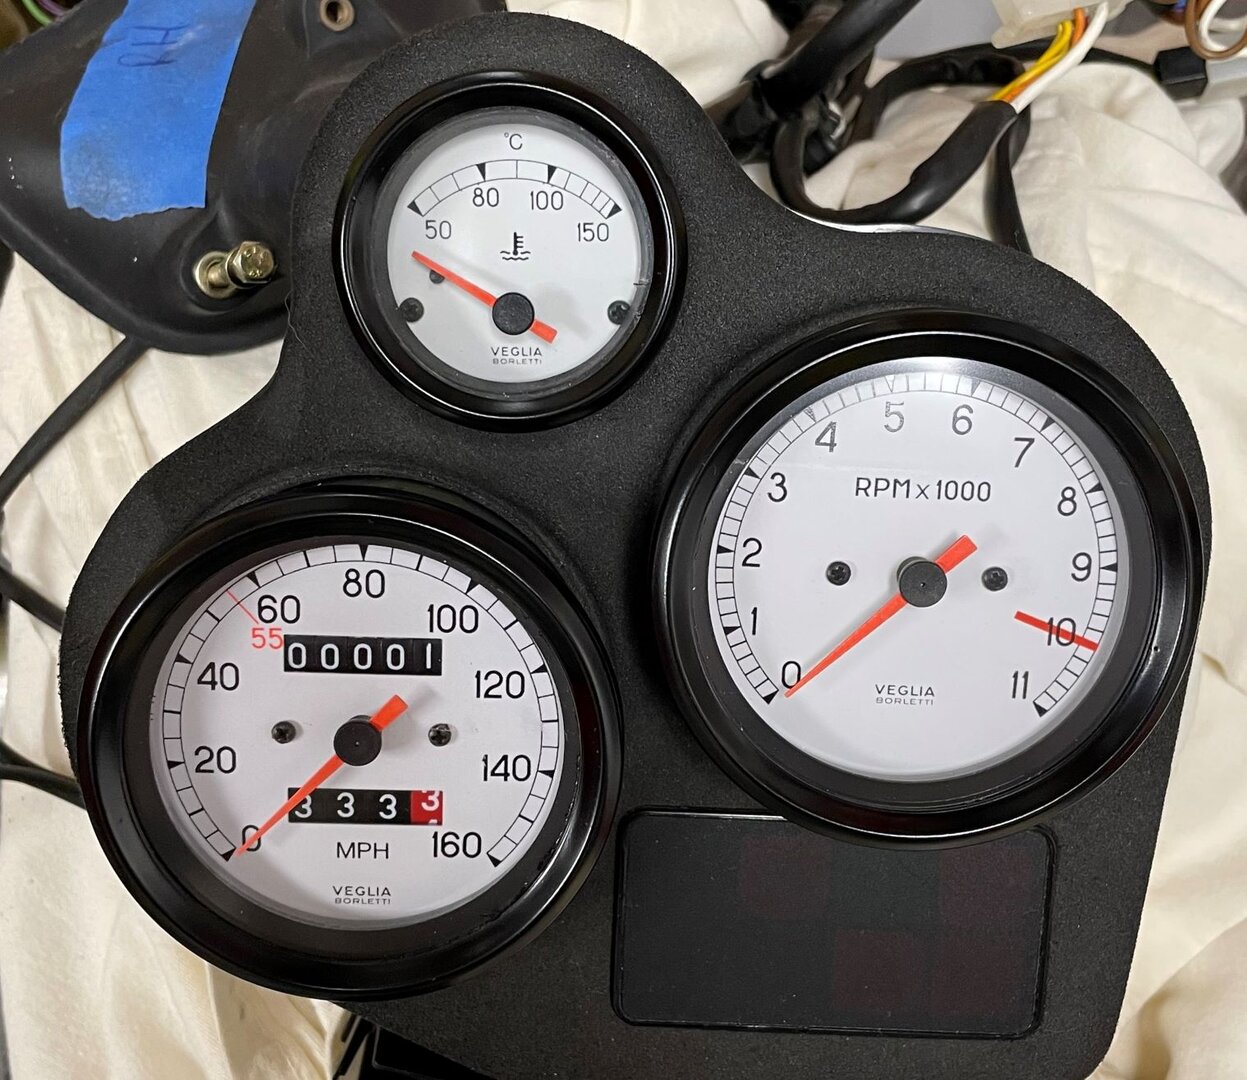
Like many, my dial needles had faded almost to white so I set about opening them up and repainting them.
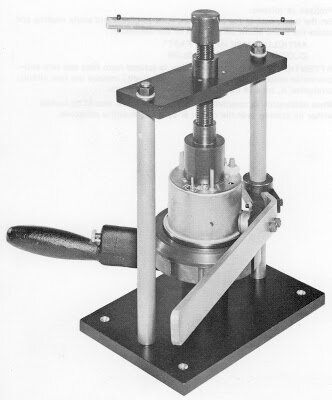
Interestingy I found an image of the OEM tool used by Smiths when making this type of instrument with rolled bezel to retain the covers. I also researched Smith bezels available from the internet but they are just that little bit too small.
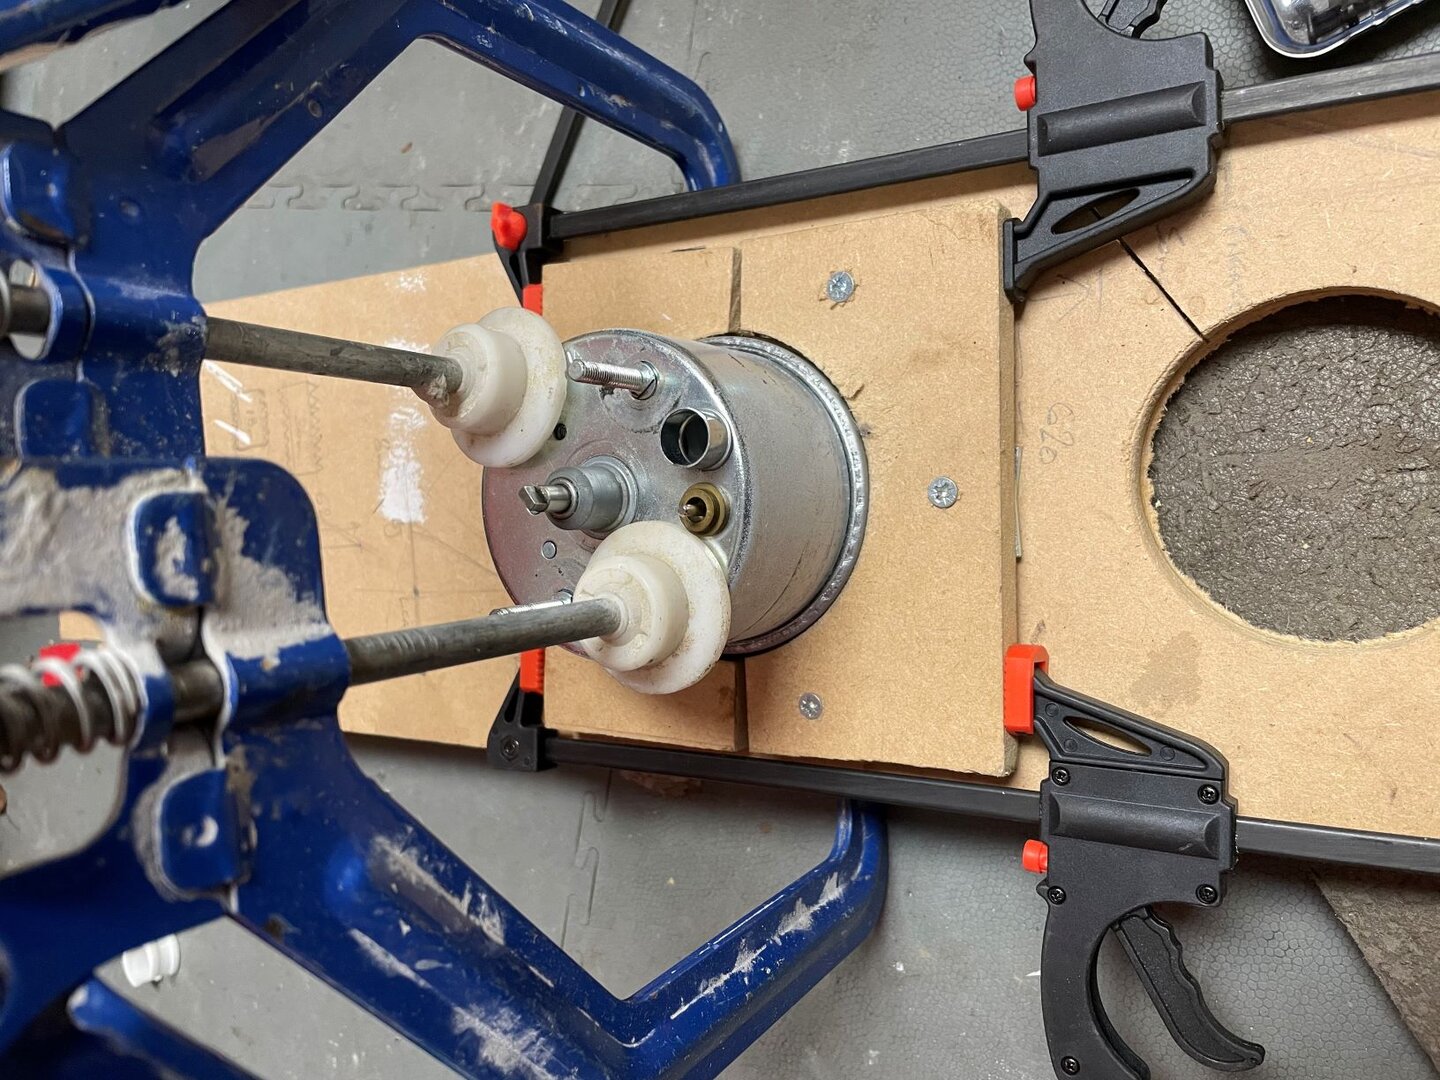
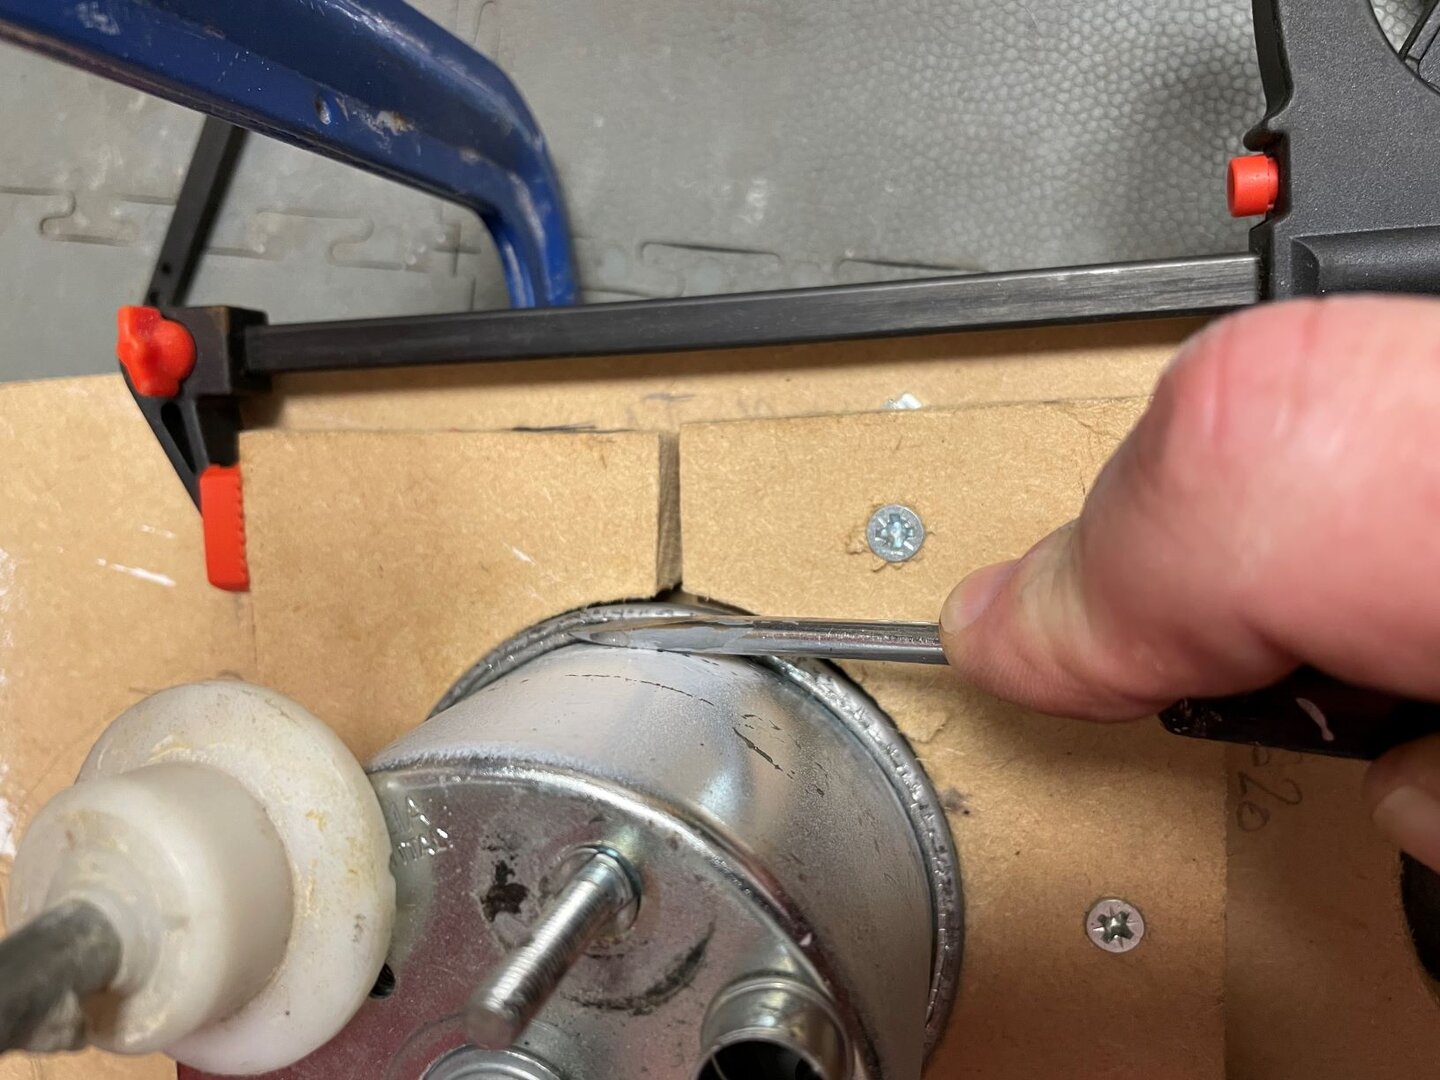
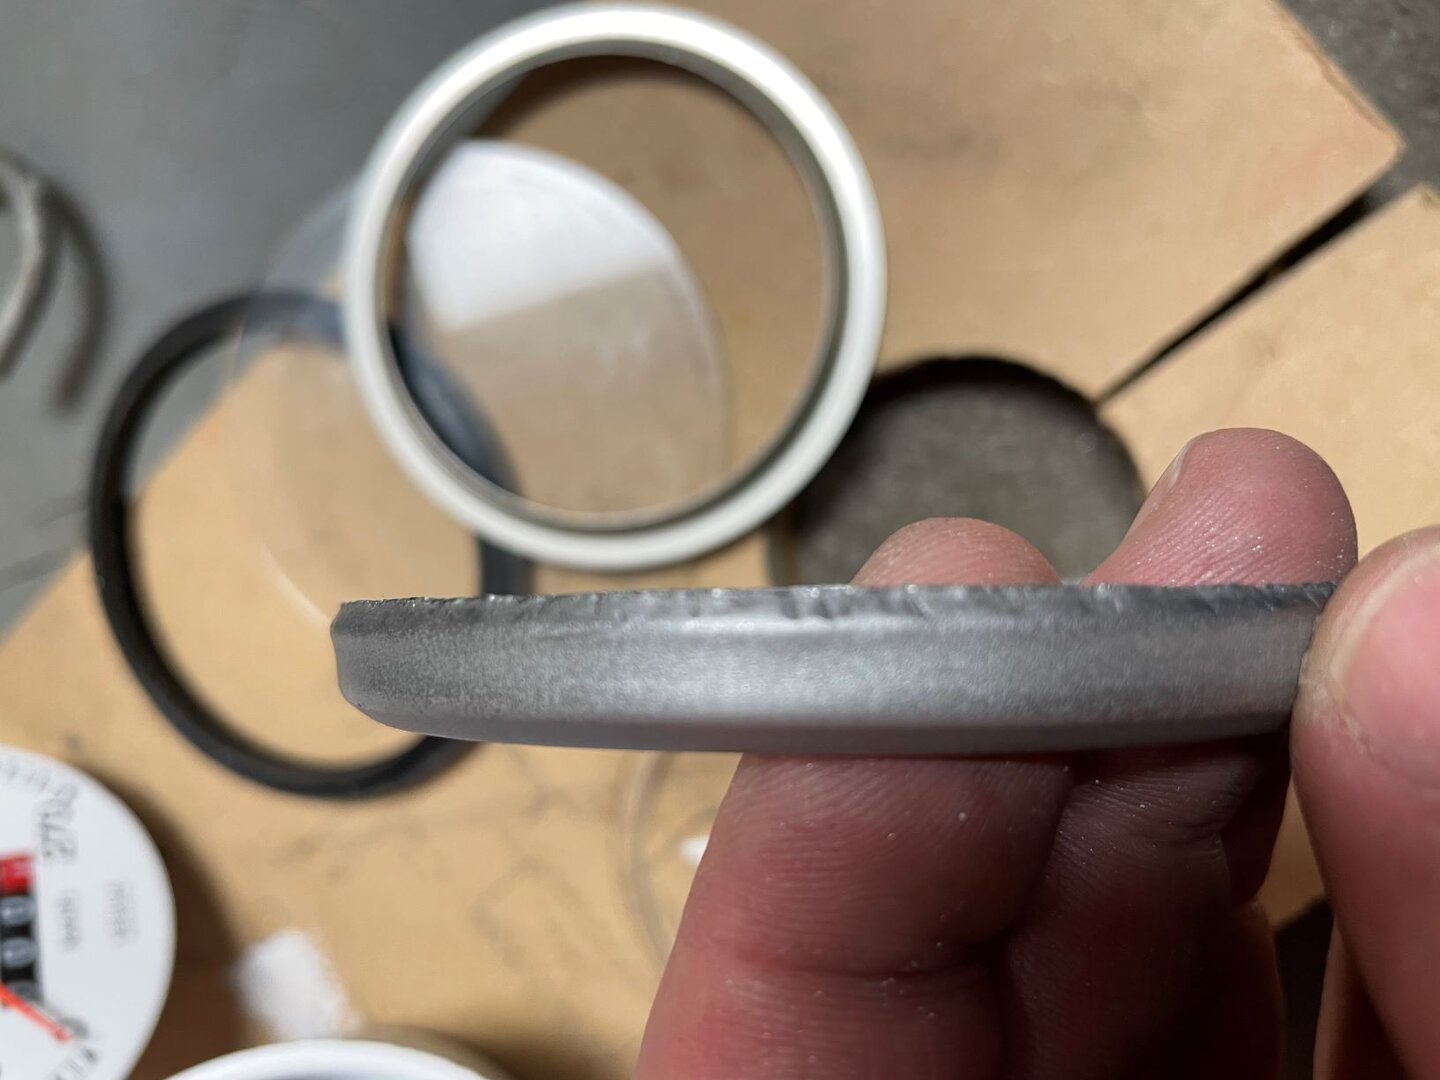
Being a bit more "heath robinson" in my approach I came up with a solution to compress the rubber gasket between glass face and outer can so I could lever up the rolled bezel. I also used two clamps to pull together two semi circles cut out of MDF and clamp the OD to prevent it from deforming as the rolled edge was levered up.
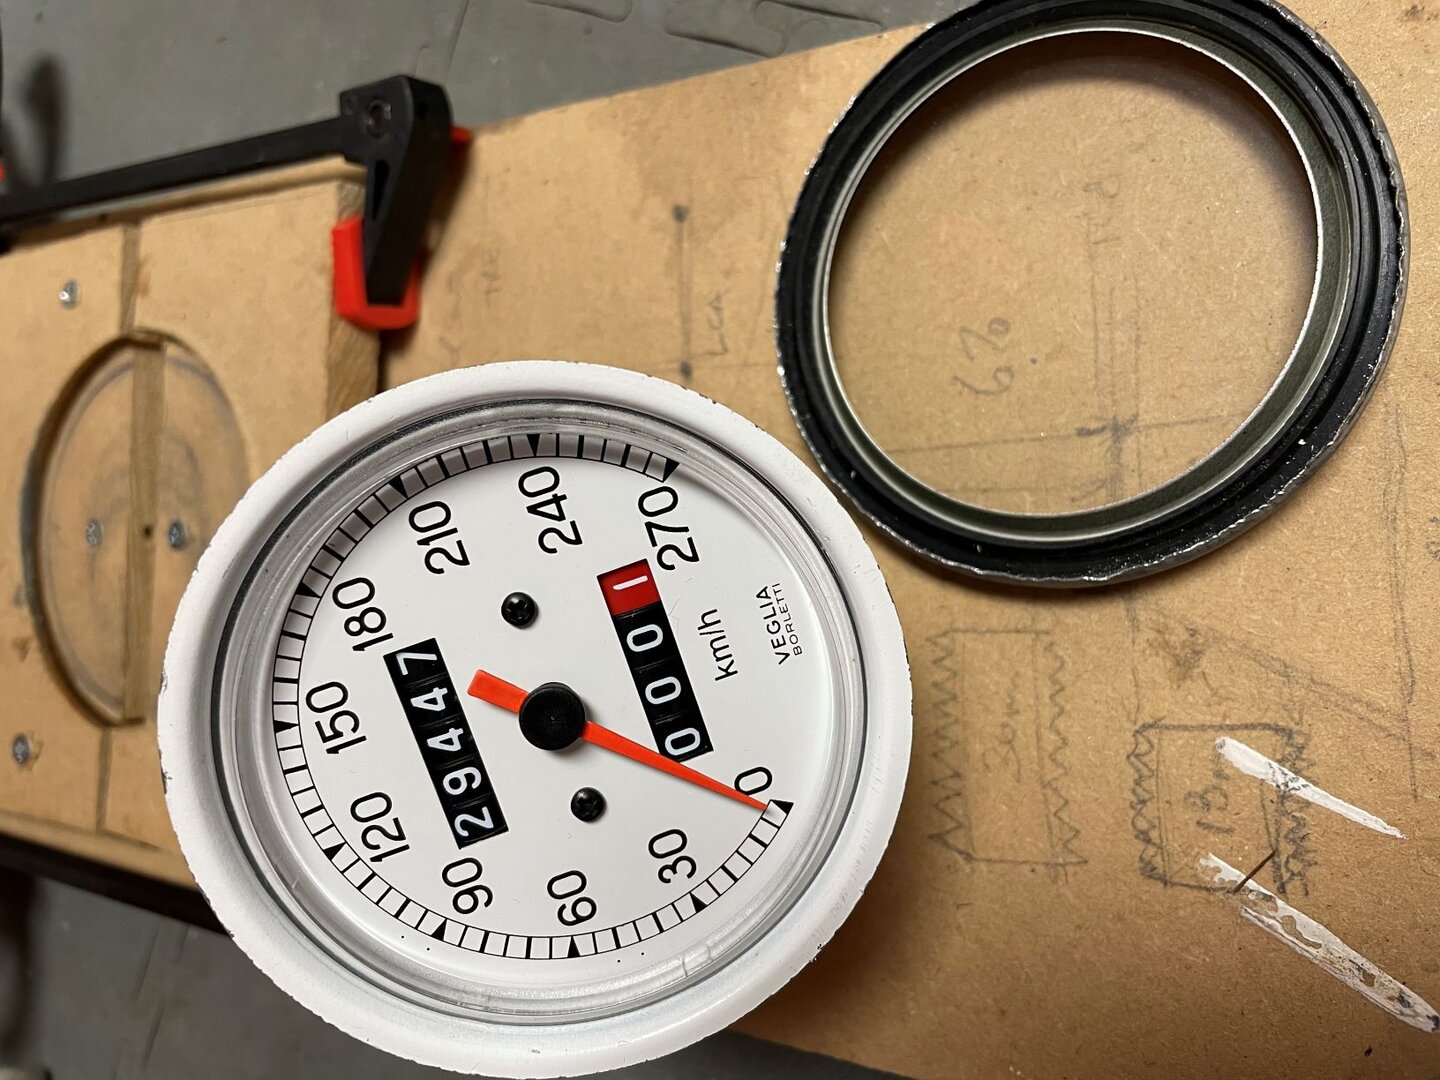
Once the edge was up the bezel was removed and the rubber gasket, glass and instrument surround could be separated. Worth noting the glass is antireflective on one side to prevent glare - I put this to the outside of the dial.
Once opened up you need to remove a couple screws from the back of the case and the instrument falls out.
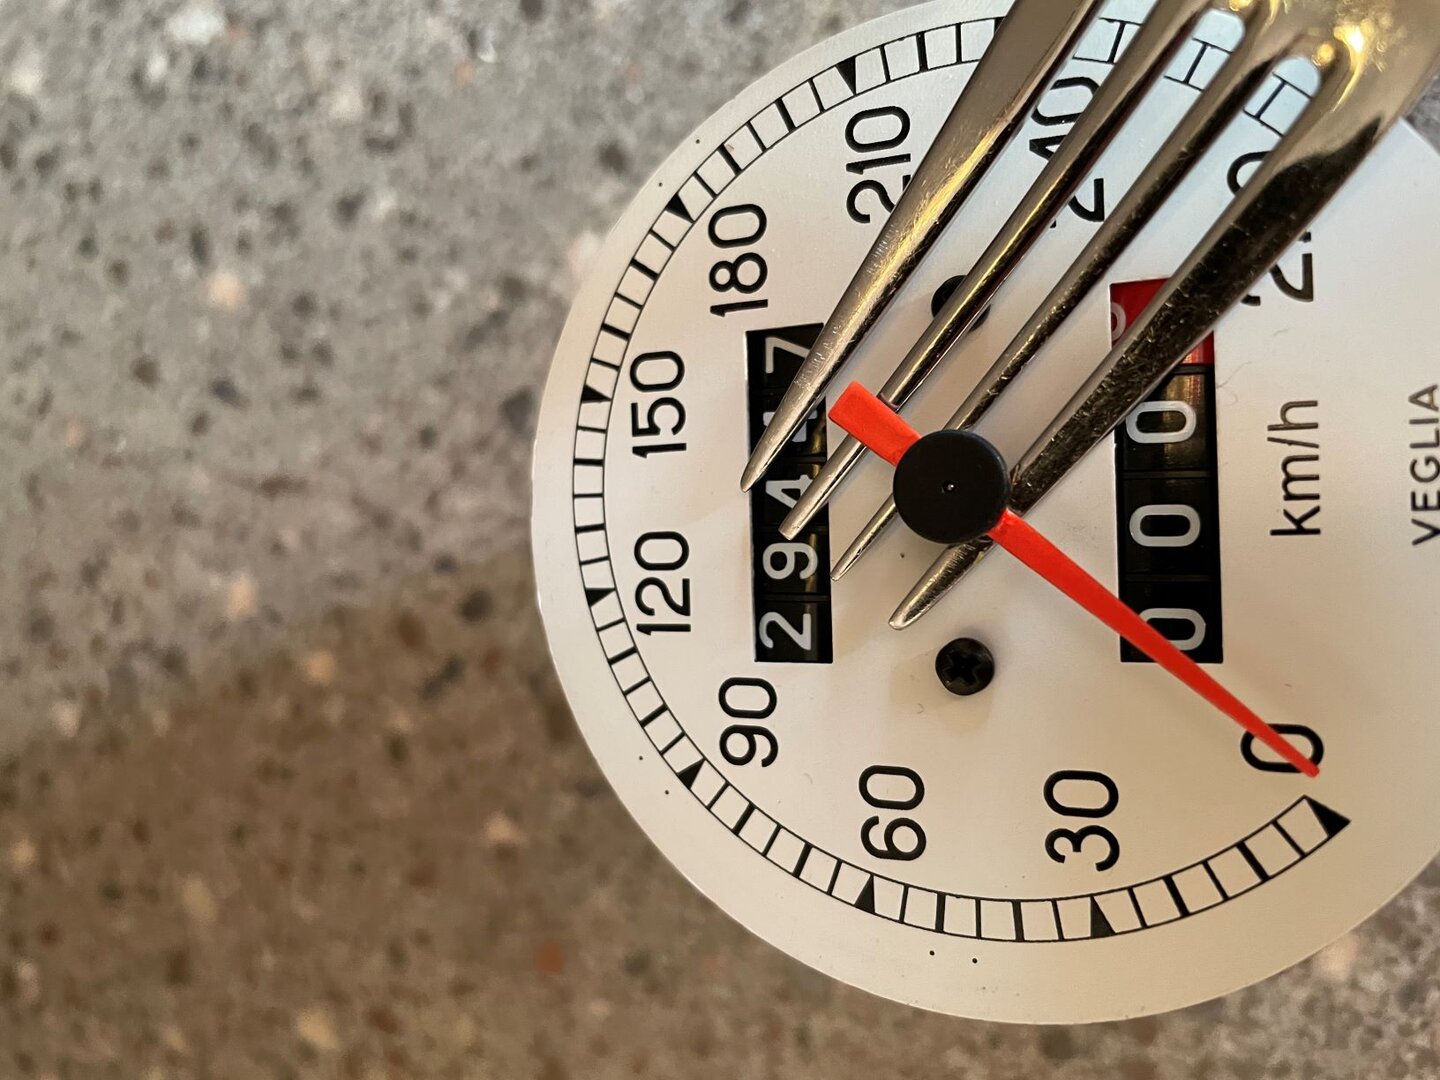
Needle was removed with a fork by gently rotating upward - it is tight on the spindle and I was afraid of breaking things but it all let go and came off no trouble.
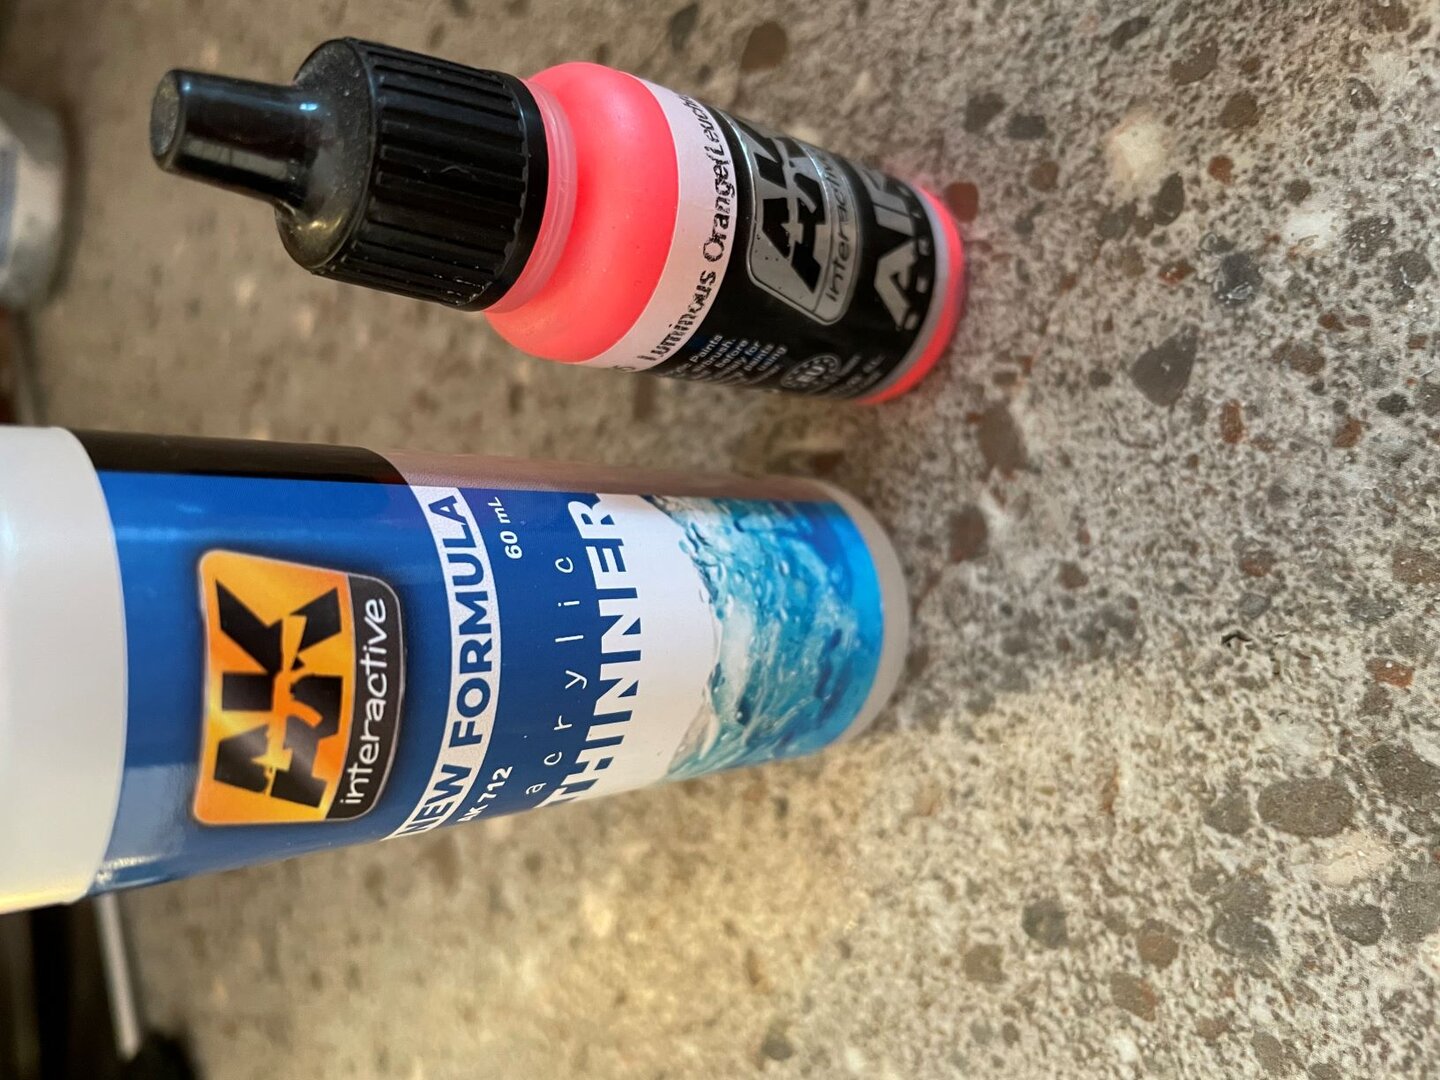
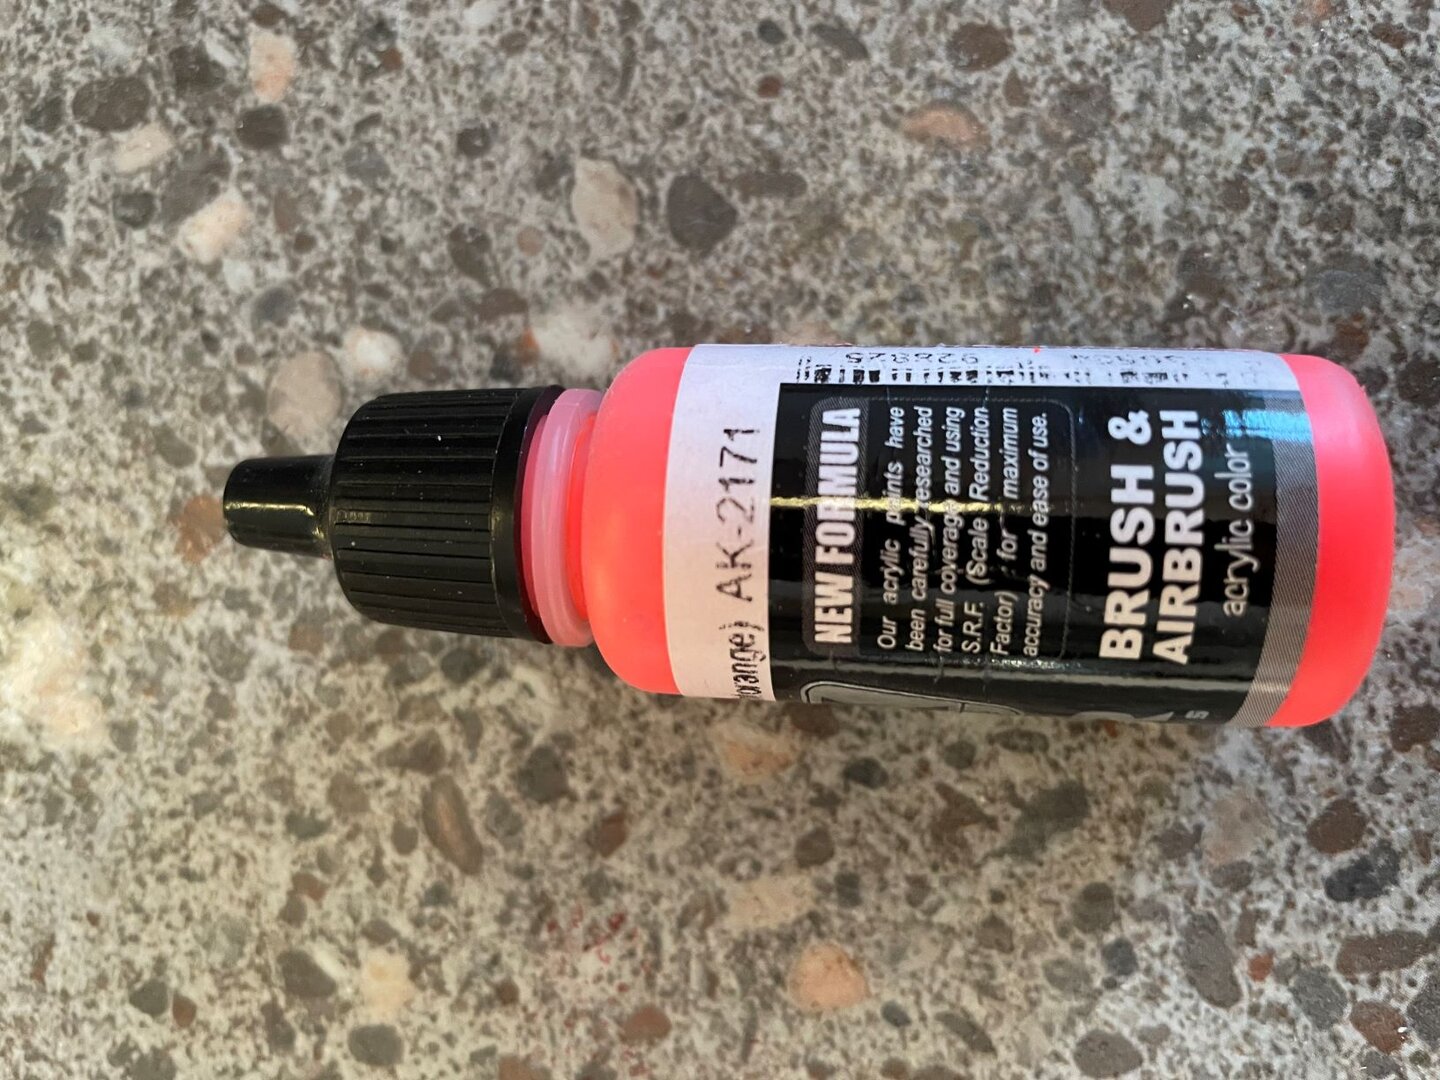
Used a liquid mask to cover the black centre of the needle and scraped off the old paint with a knife blade. Once primed I used the modellers paint from AK called Luminous Orange AK2171 diluted with a little AK thinners and airbrushed on.
Assembly is the reverse of disassembly only this time endges are rolled back over in the jig. In reality they are gently tapped down using a hard wood dowel and hammerjust going aroound and aorund until the edge is flat.
Bezels were rubbed down with scotchbrite and treated to a little zinc primmer prior to assembly. Only the temp gauge showed signs of corrosion on the back face where the gasket sits.
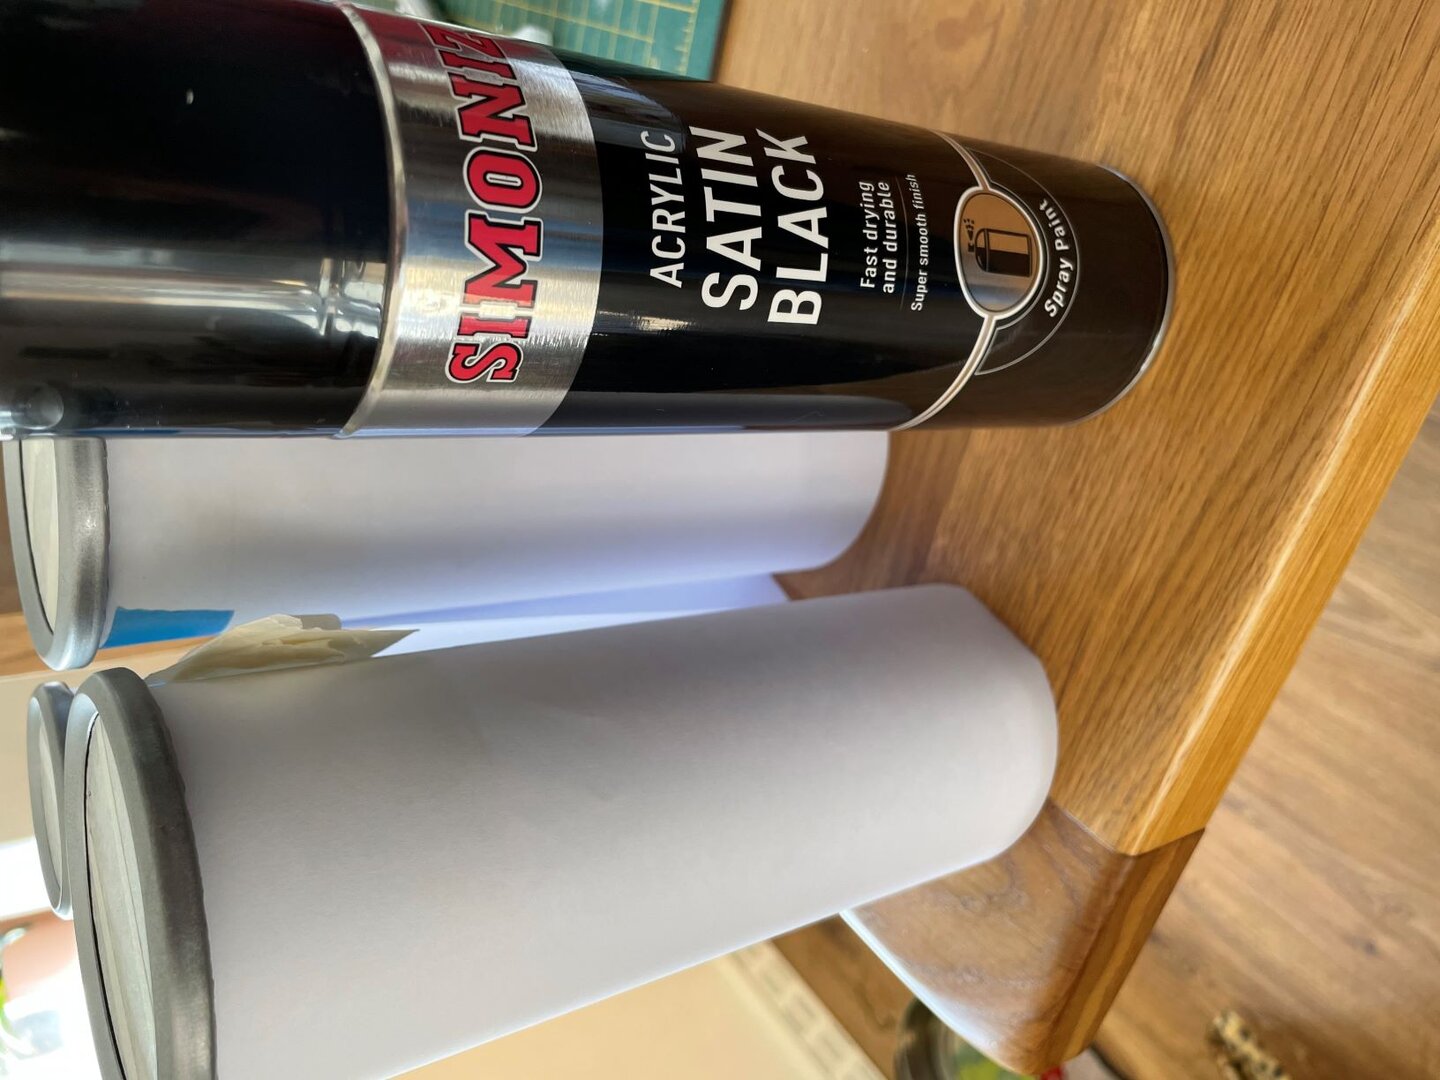
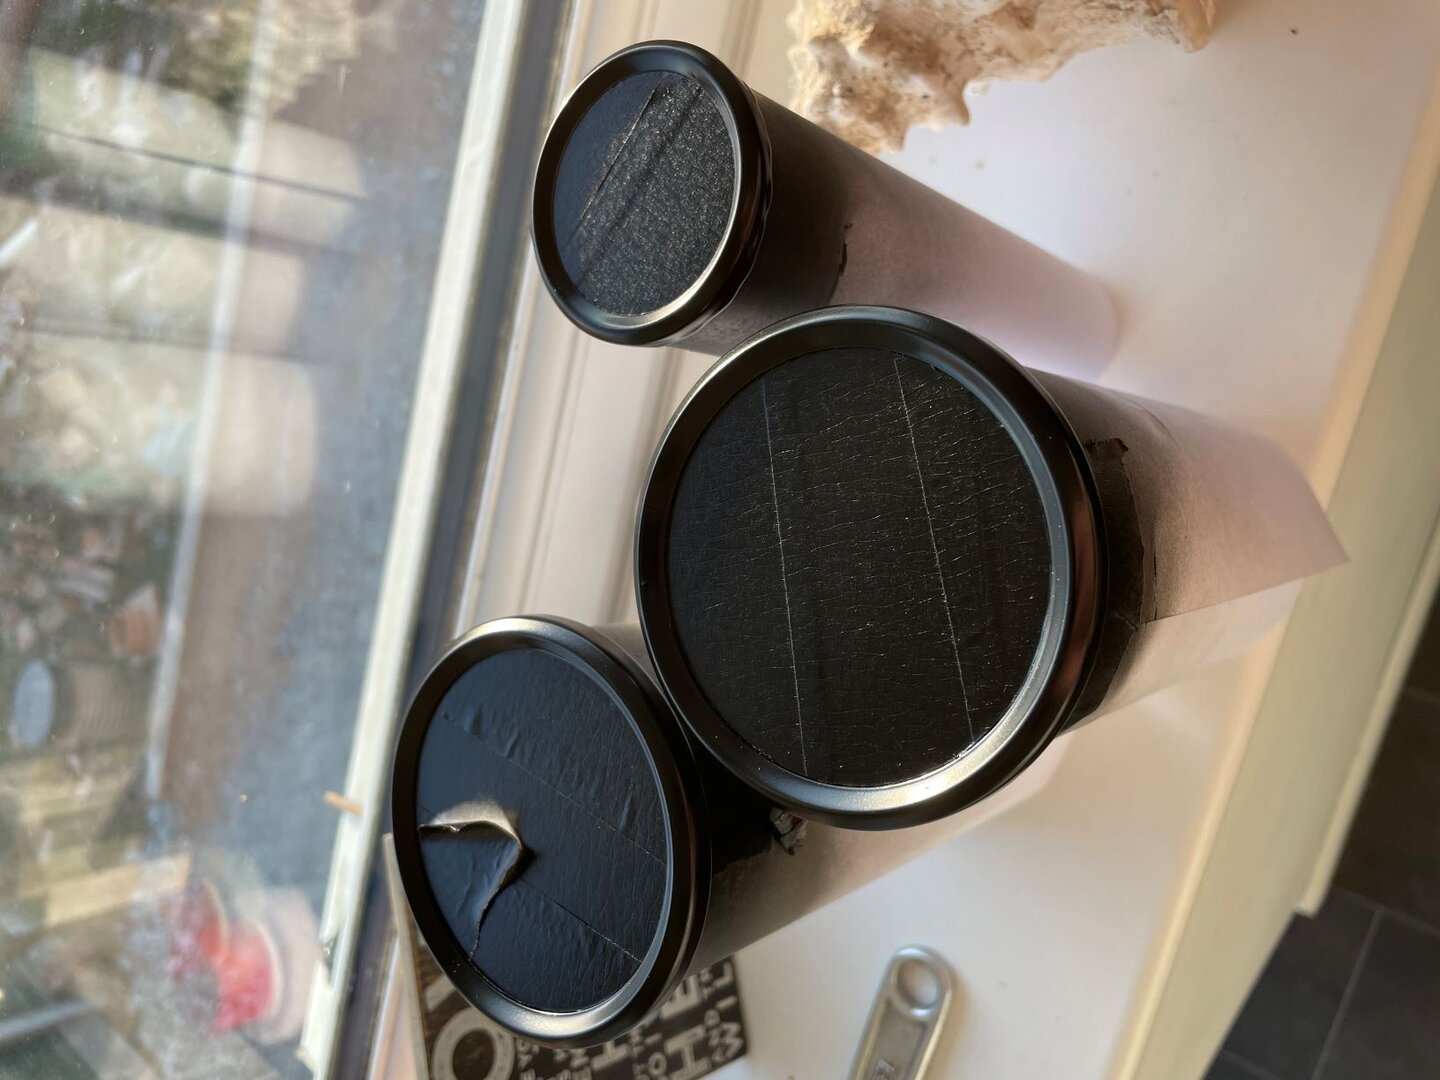
Bit of masking and rattle can of satin black sees them back to factory fresh.
You will see ripples in the OD of the temperature gauge as it looks like the MDF semi circles weren't quite the right size and the OD deformed on assembly.
Fortuntaley those ripples get lost in the foam when assembled so it'll all look alright once in the dash.
(For those who noticed - disassembly example was with a dial that had already been apart once and gone through the process of reassembly. I will use a new 0 mile MPH clock instead of the original KM dial which will be kept for traceability)
All in all I'm pleased and happy to have saved the £500 per instrument a specailist wanted to charge me for the pleasure of returning my needles to the right colour.
